
Nodes
Ladies and gentlemen, welcome to this extracurricular course on the anatomy of a node. We’ll be dissecting several nodes throughout this course, there may be blood, be warned… In this article we will go through how nodes work, how to use inlets and outlets, go in depth into attributes and discuss the fine art of instancing.
Nodes
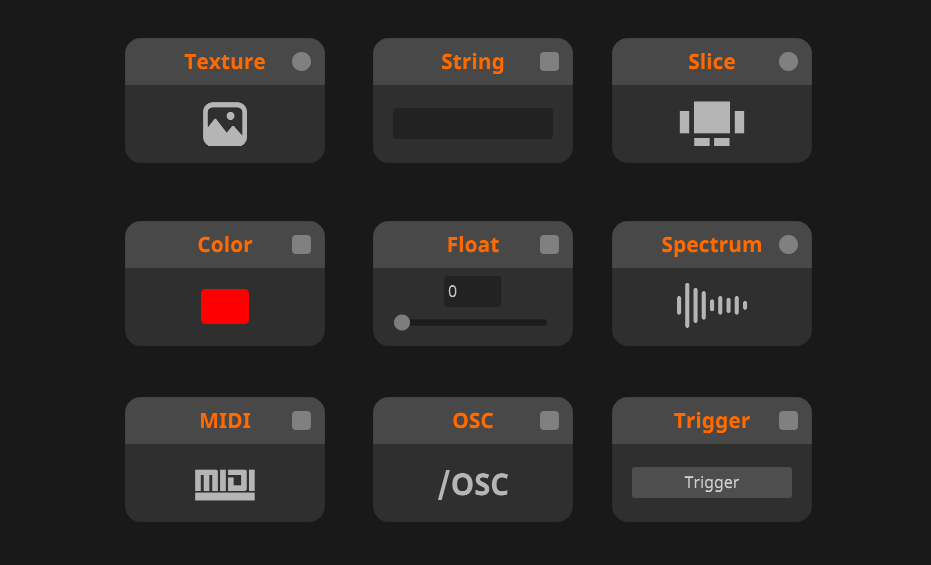
We’ll distinguish nodes into four different categories. Input nodes, Output nodes, UI nodes and General nodes.
Input Nodes
Input nodes are nodes that take information from outside of Wire into Wire. This can be information from Resolume like textures or FFT data. This can also be OSC/MIDI data or Syphon/Spout information.
The simplest example is the Texture Input node. This will take the input from Resolume and feed it through your patch. This is the cornerstone of making effects.
A less obvious example is the Trigger Input node. This requires the user to click the trigger button to have it send out a trigger. Again, taking information from outside(the user clicking the button) into Wire (the trigger signal).
Output Nodes
Output nodes output information from your patch to something outside of Wire.
The simplest example is the Texture Output node. This will take whatever visual you put into it and send it to Resolume or route it to a display or Spout.
Other examples are MIDI and OSC out. You might construct a midi-sequencer in Wire and use it to trigger clips in Resolume.
UI Nodes
UI nodes are there to make your patch understandable to outsiders. Here you will find the Comment node that lets you take notes on your patch. UI nodes do not influence the way your patch works in any way, shape or form.
General Nodes
This is the meat and bones of Wire. This is where the magic happens. These nodes deal with data, textures, arrays and shapes. They modulate, displace and subtract each other. They mix, match, compare and do all the hard math for you.

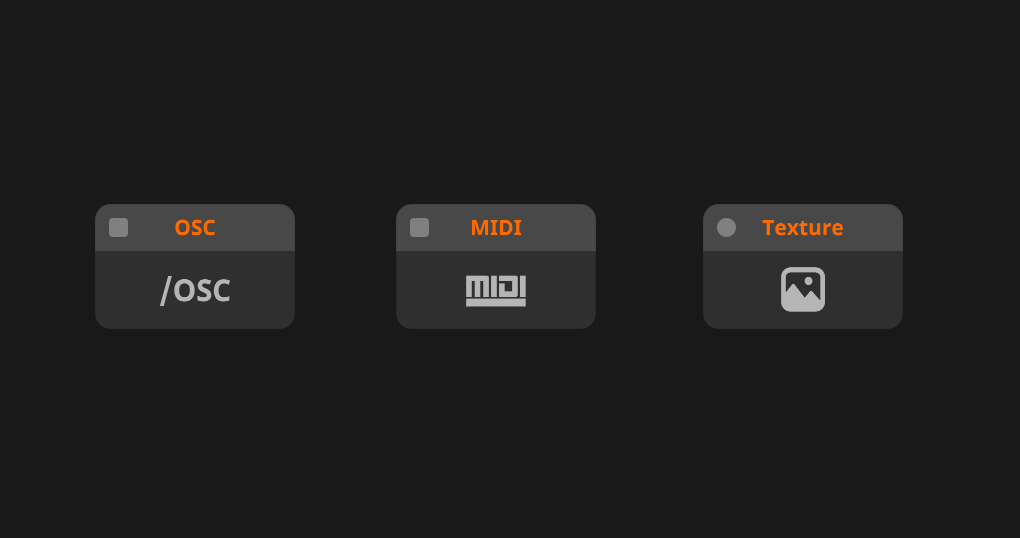
Inlets and outlets
Each node has one or more inlets and/or outlets. These are the dots next to the name of the node. Inlets are always on the left side and outlets always on the right side.
When you hover over an inlet or outlet a small list will appear containing all the possible data types that can go into this. When data is flowing through the inlet or outlet, the value will be previewed above the list. You can always manually adjust values by clicking the value and typing in a new one, dragging the value up and down or adjusting it in the node panel.
You can connect an outlet to an inlet or an inlet to an outlet by clicking on them. If you connected a something to the wrong inlet you can always reconnect that inlet to the correct inlet, also by clicking it.
Modifying nodes
There are a few ways you can modify and change a node.
Expose Inputs
You can right click on a node and select Expose Inputs to create interactive elements. For each numerical input there will be a value box, each toggle gets a boolean and each trigger gets a trigger node connected to it. It makes your patch a little messy, but it might help you to work faster.

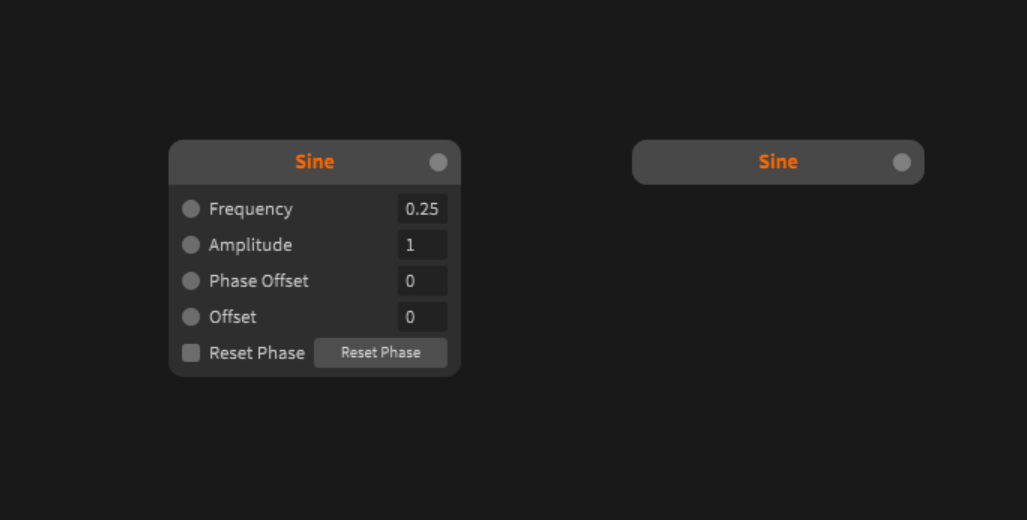
Visibility
Not all features of each node are visible. Some nodes have features that have only a few use cases so we’ve hidden them for convenience. You can adjust the visibility of a node by right clicking it and navigating to Visibility. Here you can turn on and of the inlets and outlets that you desire.
There is also the option to hide all [CTRL, SHIFT, H] or show all [CTRL, SHIFT, ALT, H]. This can be useful to make your patch more readable as well as satisfy your OCD because all the blocks can now be the same size!
Attributes
Going even further into modifying nodes, we have the attributes. These are found by clicking on a node and navigating to the node panel. Here you will find options that we don’t want to be modulated.
Here you will often find options to make changes to the resolution, flow, bit depth and different modi of certain effects. This is different from node to node, so when you can’t find what you're looking for, make sure to check the Attributes.
Many node have one attribute called instances. This is a great subject to explore once you understand the basics of Wire. Check out our article on instancing here.