FAQ

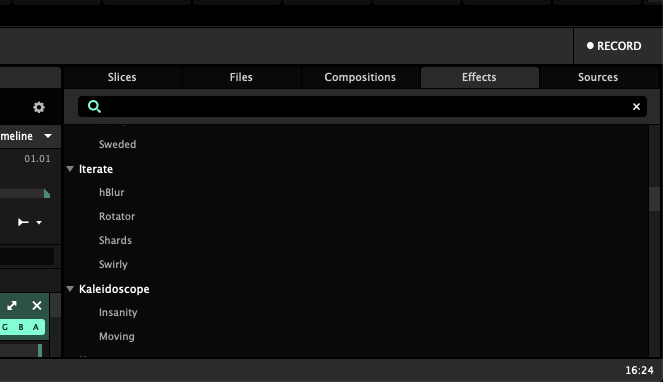
My effects are missing!
Certain effects like Wave Warp and Fragment are gone! Also, all my custom and 3rd party FFGL effects are gone!

Difference between Avenue and Arena
Two Resolumes? What does Avenue do? Do I need Arena? I'm so confused right now!


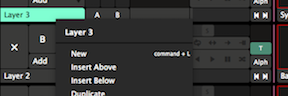
Menus Disappearing?
When I right click on stuff, the menu briefly appears and then disappears right away. What gives?

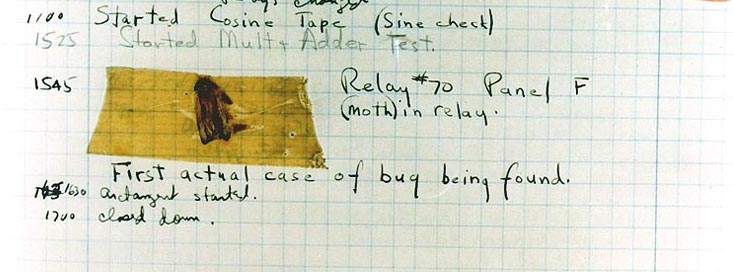
Reporting a Bug
If you found a bug and know how to reproduce it then please use this template to report it to us and we'll fix it in a jiffy.

NVIDIA Optimus workaround
Does Resolume drop FPS a lot when you send output to an external display from your laptop?
Version 6 doesn't start on latest OSX
Trying to install Arena or Avenue 6, on OSX Monterey or later, but get a crash on startup?
No Output with Docking Station
Black output when screens are connected to a DisplayLink docking station?


Installing & Registering


Workflow


Content


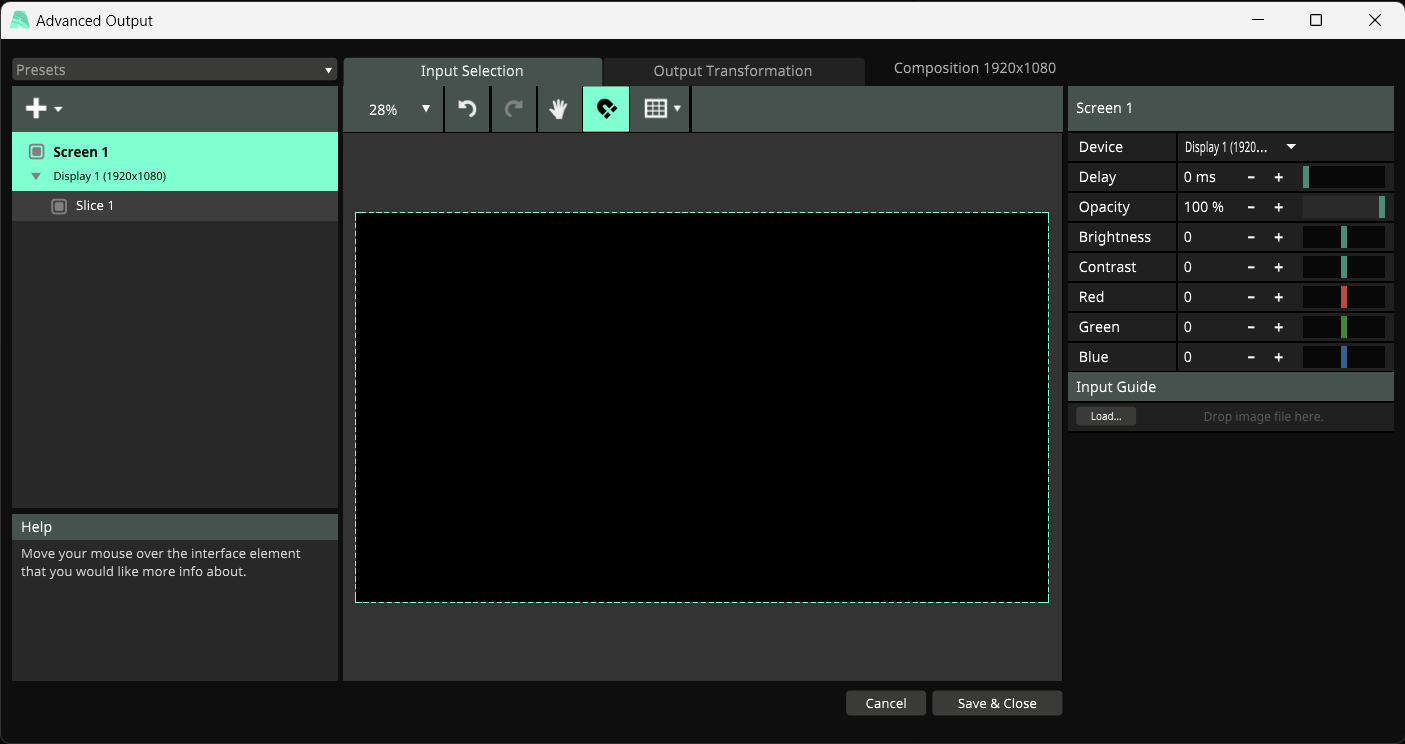
Output


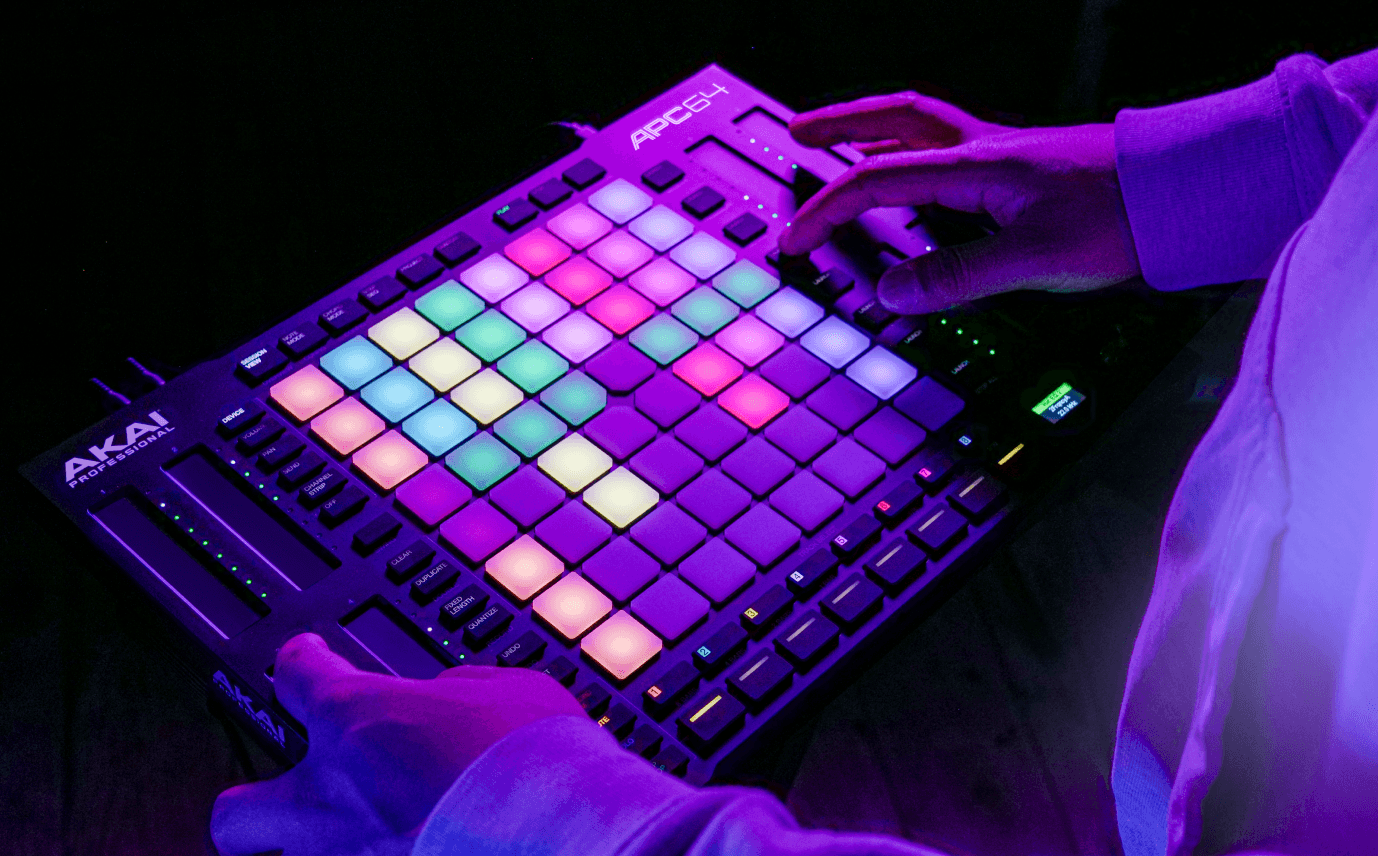
Controlling Resolume


Sync to Denon DJ Players
Automatically sync up video to the DJ's track using Denon's StageLinQ protocol

Best Practices


Getting started with LED Strips


Nerds


Preferences
The Preferences give you access to settings that affect the way that Resolume works overall.


